Setting Up Environment Variables in Windows
REPO_DIR
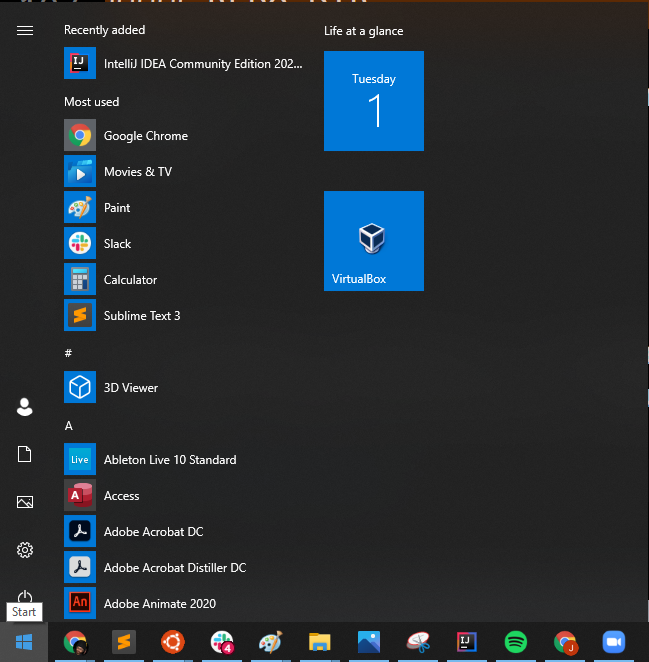
Click on the Windows button in the bottom left (or press control-escape). This will bring up your start menu like below:
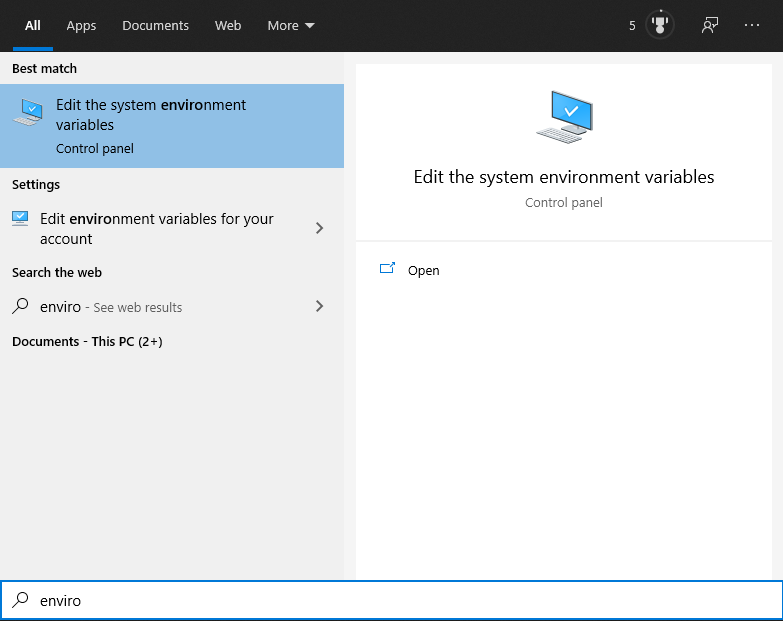
Type the letters “enviro”, and Windows 10 search should automatically find something called “”
Click this and the window below should show up:
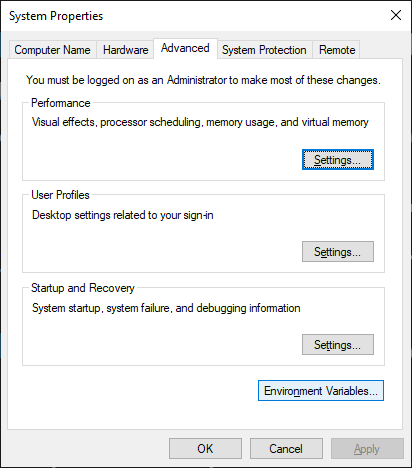
Now click “Environment Variables”, and you should see:
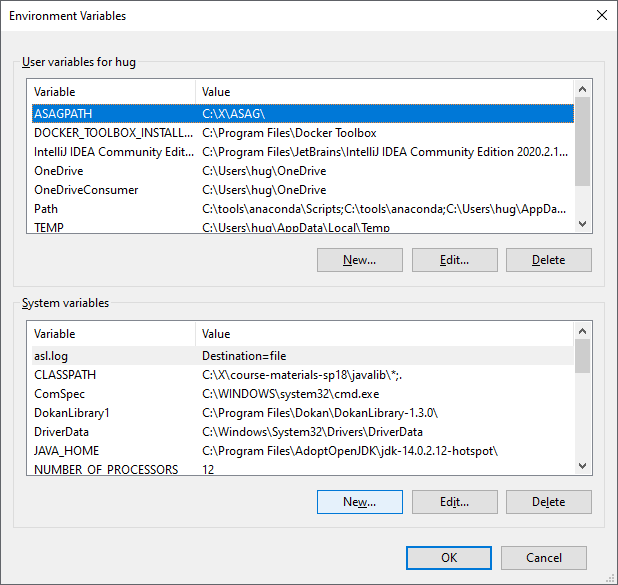
Click the “New…” button at the bottom below “System variables”, highlighted in blue in the image above.
This will open a new window called “New System Variable”.

For variable name, type REPO_DIR. Then click on “Browse Directory”:

After clicking browse directory, use the file dialog to navigate to your 61b repository folder. For example, mine is fa20-s26.
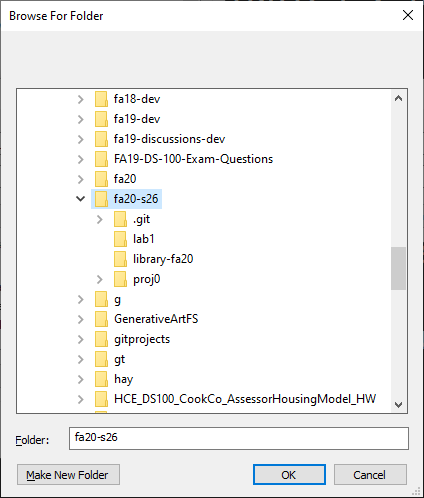
After clicking OK, the value should be filled in with the path to your repo. For example, on my computer this path was “C:\X\fa20-s26”.

Now click OK on all the remaining windows and they should disappear. You’ve now set the “REPO_DIR” environment variable.
SNAPS_DIR
Repeat the steps above, but this time use the variable name “SNAPS_DIR”, and when you use “browse directory”, navigate to your snaps repository folder. For example, on my computer this path was “C:\X\snaps-fa20-s26”.
You may now return back to the lab 2 setup page.